
리액트 내비게이션
모바일 애플리케이션은 하나의 화면으로 구성되는 경우가 거의 없으며, 일반적으로 다양한 화면이 상황에 맞게 전환되면서 나타난다.
그렇기 때문에 내비게이션은 모바일 애플리케이션에서 가장 중요한 기능 중 하나라고 할 수 있다.
리액트 네이티브에서는 내비게이션 기능을 지원하지 않으므로 외부 라이브러리를 이용해야한다.
리액트 네이티브에서 추천하는 리액트 네비게이션 라이브러리를 사용해 내비게이션을 적용한다.
Installation
yarn add @react-navigation/native
Installing dependencies into a bare React Native project
yarn add react-native-reanimated react-native-gesture-handler react-native-screens react-native-safe-area-context @react-native-community/masked-view
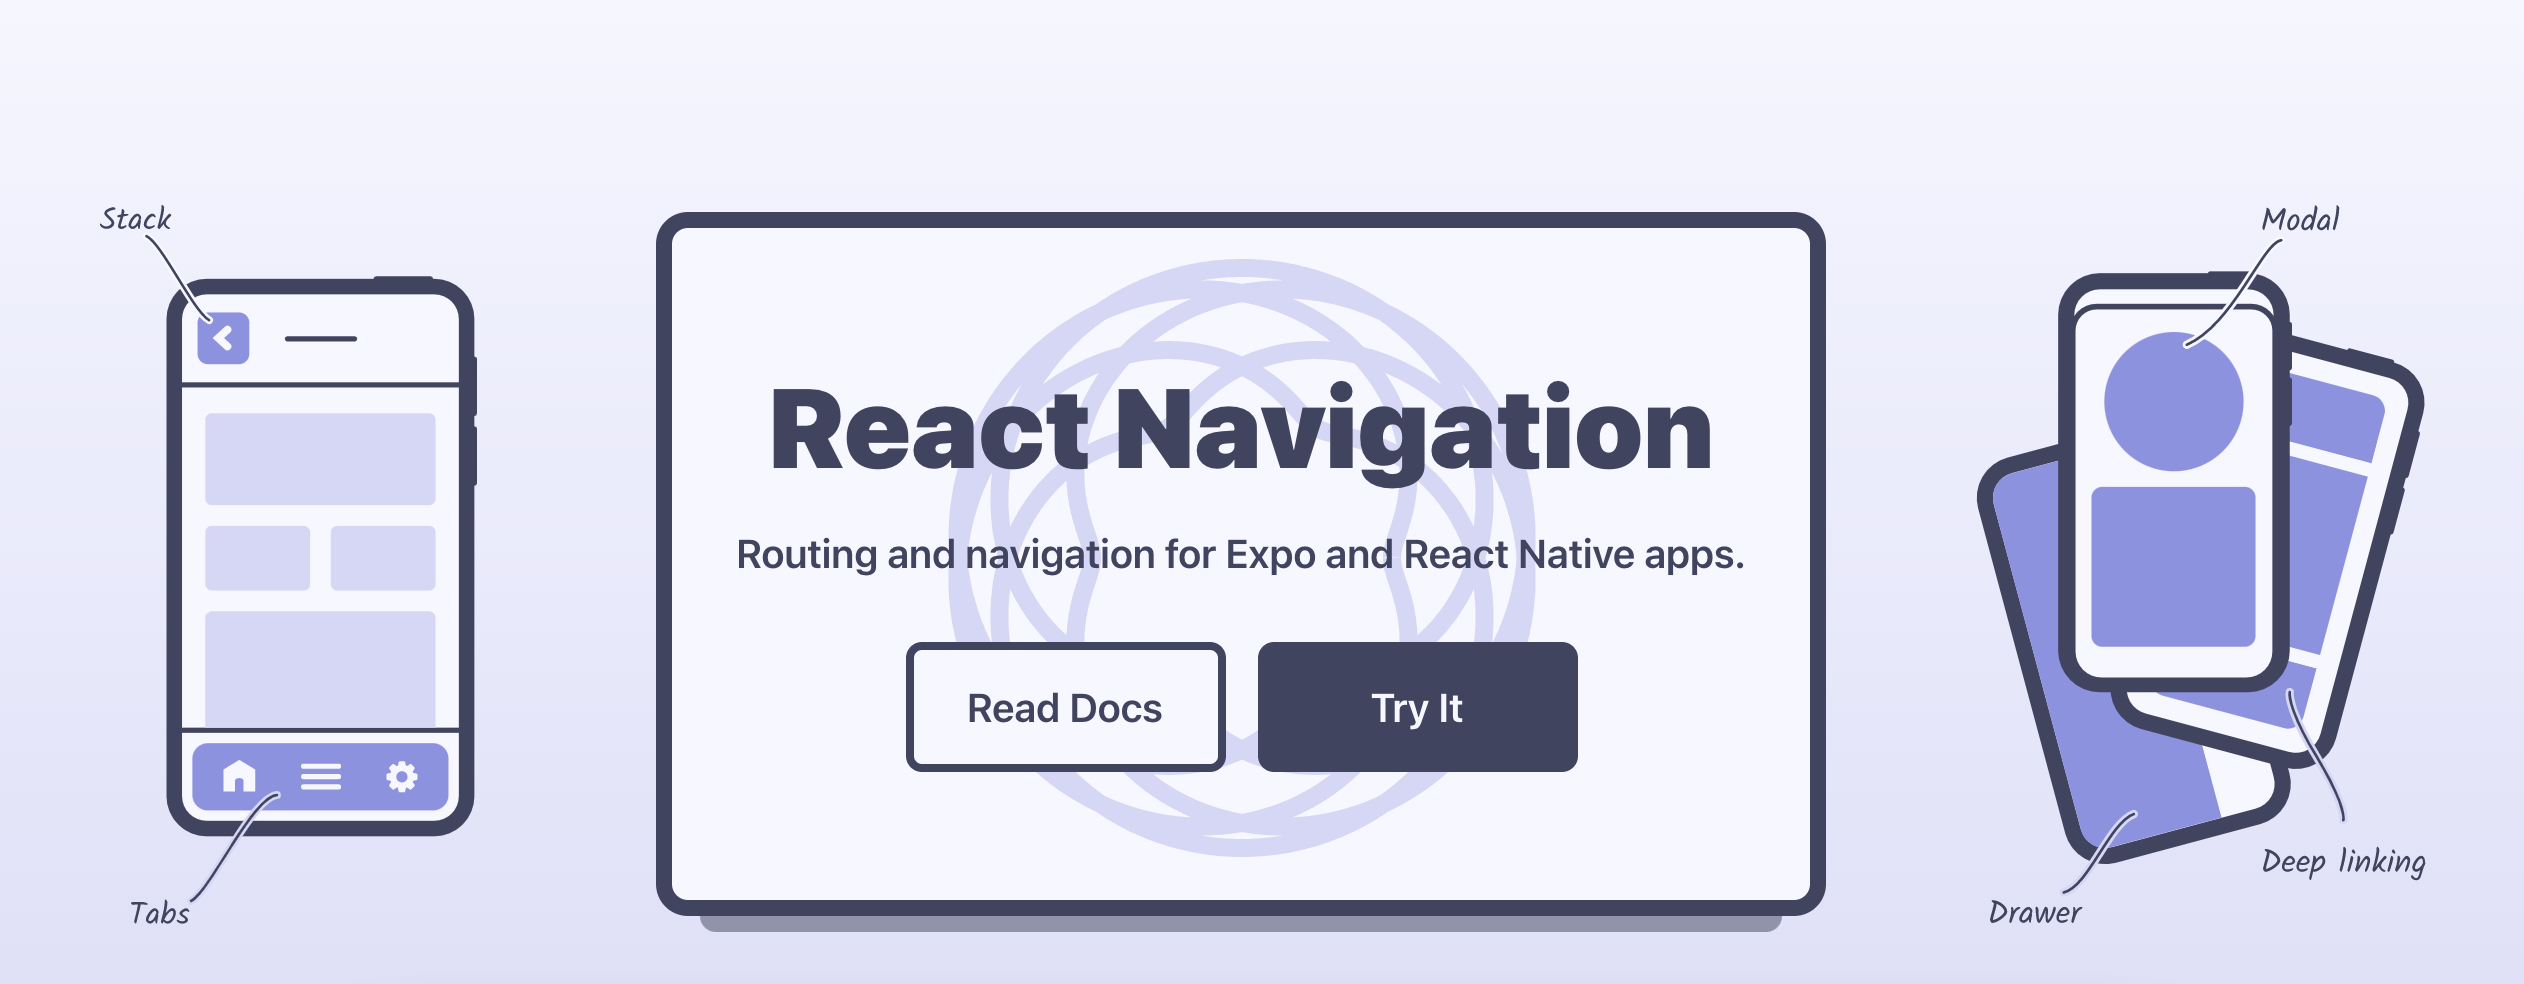
리액트 내비게이션 라이브러리는 리액트 네이티브 애플리케이션의 내비게이션을 쉽고 간단하게 관리할 수 있도록 도와준다.
지원하는 내비게이션의 종류는 스택 내비게이션, 탭 내비게이션, 드로어 내비게이션 세 종류이다.
Stack Navigator
일반적인 스크린 전환으로 버튼 클릭 등에 해당됩니다.
가장 주로 쓰이는 네비게이터로 화면을 이동시켜주면서 네비게이터의 히스토리 또한 관리해줍니다.
제스쳐나 애니메이션에 의해서 네비게이팅이 됩니다.
react-navigation v5에서는 createNativeStackNavigator라는 새로운 방식으로 StackNavigator를 만드는 방법이 나왔습니다.
createStackNavigator
StackNavigator는 각각의 화면을 Stack과 같이 쌓는 네비게이션입니다.
iOS는 오른쪽에서 슬라이드하고 Android에서는 하단에 페이드인이 됩니다.
iOS에서 스택 네비게이터는 화면이 아래에서 미끄러지는 모달 스타일로 구성 될 수 도 있습니다.
import { createStackNavigator } from '@react-navigation/stack';

const Stack = createStackNavigator();

function MyStack() {
  return (
    <Stack.Navigator>
      <Stack.Screen name="Home" component={Home} />
      <Stack.Screen name="Notifications" component={Notifications} />
      <Stack.Screen name="Profile" component={Profile} />
      <Stack.Screen name="Settings" component={Settings} />
    </Stack.Navigator>
  );
}
Stack.Navigator 구성요소는 다음과 같은 속성 데이터를 다른 컴포넌트에 전달할 수 있습니다.
즉 Stack.Navigator 에 props를 사용하면 속성 데이터를 공유 할 수 있습니다 .
Stack.Navigator Props
initialRouteName
네비게이터를 처음 로드 할 때 렌더링 되는 뷰를 설정
screenOptions
네비게이터의 화면에서 사용 할 기본 옵션
keyboardHandlingEnabled
기본 처리 사용 여부
기본값은 true이며 false인 경우 새 화면으로 이동할 때 화면 키보드가 자동으로 해제되지 않습니다.
mode
렌더링 및 스크린 전환 방식을 정의할 수 있으며 2가지의 옵션이 있습니다.
card[default]- 표준 iOS 및 Android 화면 전환을 사용
modal- 지정된 경우가 아니면
headerMode를 스택에 대한screen으로 설정 - 안드로이드는 기본값이라 변함이 없지만, iOS의 경우 원래는 좌우 슬라이드에서 아래 위로 슬라이드가 됩니다.
- 지정된 경우가 아니면
headerMode
헤더 렌더링 방법을 지정
float- iOS에서 일반적인 패턴으로 화면이 변경 될 때 상단에 유지되고 애니메이션을 적용하는 단일 헤더를 렌더링 합니다.
screen- Android에서 일반적인 패턴으로 각 화면에 헤더가 부착되어 있으며 헤더와 화면이 함께 페이드 인 페이드 아웃이 됩니다.
none- 모든 화면에서 헤더를 숨깁니다.
detachInactiveScreens
기본 값은 true이며 메모리를 저장하기 위해 비활성 화면을 뷰 계층에서 분리 해야 하는지 여부를 나타내는 데 사용되는 논리 자료형입니다.
enableScreens를 react-native-screens에서 호출하여 작동되도록 해야 합니다
Options
title
헤더 제목에 대한 예비 문자열로 사용할 수 있습니다.
header
헤더로 표시할 React 요소를 반환하는 함수입니다.
다음 속성을 포함하는 개체를 인수로 받습니다.
mode헤더 모드 (float또는screen)layout화면의 치수insets헤더에서 사용할 safe area 삽입scene2가지 속성이 포함route헤더의 경로 객체descriptornavigation prop 및 화면 옵션에 대한 설명자
previous이전 화면이 없는 경우 이전 화면의scene객체는 정의 되지 않음- (아래 예시 참고)
navigation헤더의 propstyleInterpolator헤더의 다양한 요소에 대해 interpolated 스타일을 반환하는 함수입니다.
사용자 지정 헤더 사용 시 headerMode도 screen으로 설정해야 한다.
(아래 예시 참고).
header: ({ scene, previous, navigation }) => {
  const { options } = scene.descriptor;
  const title =
    options.headerTitle !== undefined
      ? options.headerTitle
      : options.title !== undefined
      ? options.title
      : scene.route.name;

  return (
    <MyHeader
      title={title}
      leftButton={
        previous ? <MyBackButton onPress={navigation.goBack} /> : undefined
      }
      style={options.headerStyle}
    />
  );
};
navigator의 모든 화면에 대한 사용자 정의 헤더를 설정하려면 navigator의 screenOptions prop에서 옵션을 지정할 수 있습니다.
단, 사용자 정의 헤더를 사용할 때 두 가지 중요한 사항이 있습니다.
- Set
headerModetoscreen
기본적으로 iOS의 여러 화면에 대한 헤더를 렌더링하는 하나의 플로팅 헤더가 있습니다. 이러한 헤더에는 원활하게 서로 전환 할 수있는 애니메이션이 포함되어 있습니다.
headerMode소품을로 설정하면 screen헤더가 화면의 일부가되므로 별도로 애니메이션을 적용하기 위해 애니메이션을 구현할 필요가 없습니다.
헤더 애니메이션 방법을 사용자 지정하고 headerMode를 float로 유지하려는 경우
scene.progress.current 및 scene.progress.next props에 채울 수 있습니다.
예를 들어, 다음에 헤더가 교차 페이드 됩니다.
const progress = Animated.add(scene.progress.current, scene.progress.next || 0);

const opacity = progress.interpolate({
  inputRange: [0, 1, 2],
  outputRange: [0, 1, 0],
});

return (
  <Animated.View style={{ opacity }}>{/* Header content */}</Animated.View>
);- Specify a
heightinheaderStyle
헤더 높이가 기본 헤더 높이와 다른 경우 비동기 측정으로 인해 결함이 발생할 수 있습니다.
높이를 명시적으로 지정하면 이러한 결함을 방지할 수 있습니다.
headerStyle: {
  height: 80, // Specify the height of your custom header
};
이 스타일은 사용자 정의 헤더의 스타일을 제어하므로 기본적으로 헤더에 적용되지 않습니다.
이 스타일을 헤더에도 적용 하려면 props에서 scene.descriptor.options.headerStyle 사용
headerShown
headerTitle
headerTitleAlign
headerTitleAllowFontScaling
headerBackAllowFontScaling
headerBackAccessibilityLabel
headerBackImage
headerBackTitle
headerBackTitleVisible
headerTruncatedBackTitle
headerRight
headerLeft
headerStyle
headerTitleStyle
headerBackTitleStyle
headerLeftContainerStyle
headerRightContainerStyle
headerTitleContainerStyle
headerTintColor
headerPressColorAndroid
headerTransparent
headerBackground
headerStatusBarHeight
cardShadowEnabled
cardOverlayEnabled
cardOverlay
cardStyle
animationEnabled
animationTypeForReplace
gestureEnabled
gestureResponseDistance
gestureVelocityImpact
gestureDirection
transitionSpec
cardStyleInterpolator
headerStyleInterpolator
detachPreviousScreen
safeAreaInsets
Events
Animations
createNativeStackNavigator
앱이 각 새 화면이 스택 위에 배치되는 화면간에 전환 할 수 있는 방법을 제공합니다.
이 네비게이터는 UINavigationController iOS 및 Frgament Android에서 기본 API를 사용하므로 빌드 된 내비게이션은 빌드 된 앱과 정확히 동일하게 작동하고 동일한 성능 특성을 갖습니다.
단점은 커스터마이징이 불가능하므로 앱에 원하는 정확한 모양이나 동작을 얻기 위해서는 createStackNavigator을 대신 사용 할 수 있습니다.
[Navigation prop 참고]
'IT > 기록' 카테고리의 다른 글
| 윈도우 작업 스케줄러 삽질 (0) | 2021.06.17 |
|---|---|
| React Native 절대경로 import 구현 하기 (0) | 2021.06.08 |
| React Native에서 Firebase SDK 추가 및 파이어베이스 인증, 데이터베이스, 스토리지 설정하기 (0) | 2021.06.07 |
| git commit message를 잘 쓰고 싶다. (0) | 2021.06.06 |
| Firebase project 생성하기 (0) | 2021.06.05 |